Menu
Home
About
Last Updated:
September 16, 2025
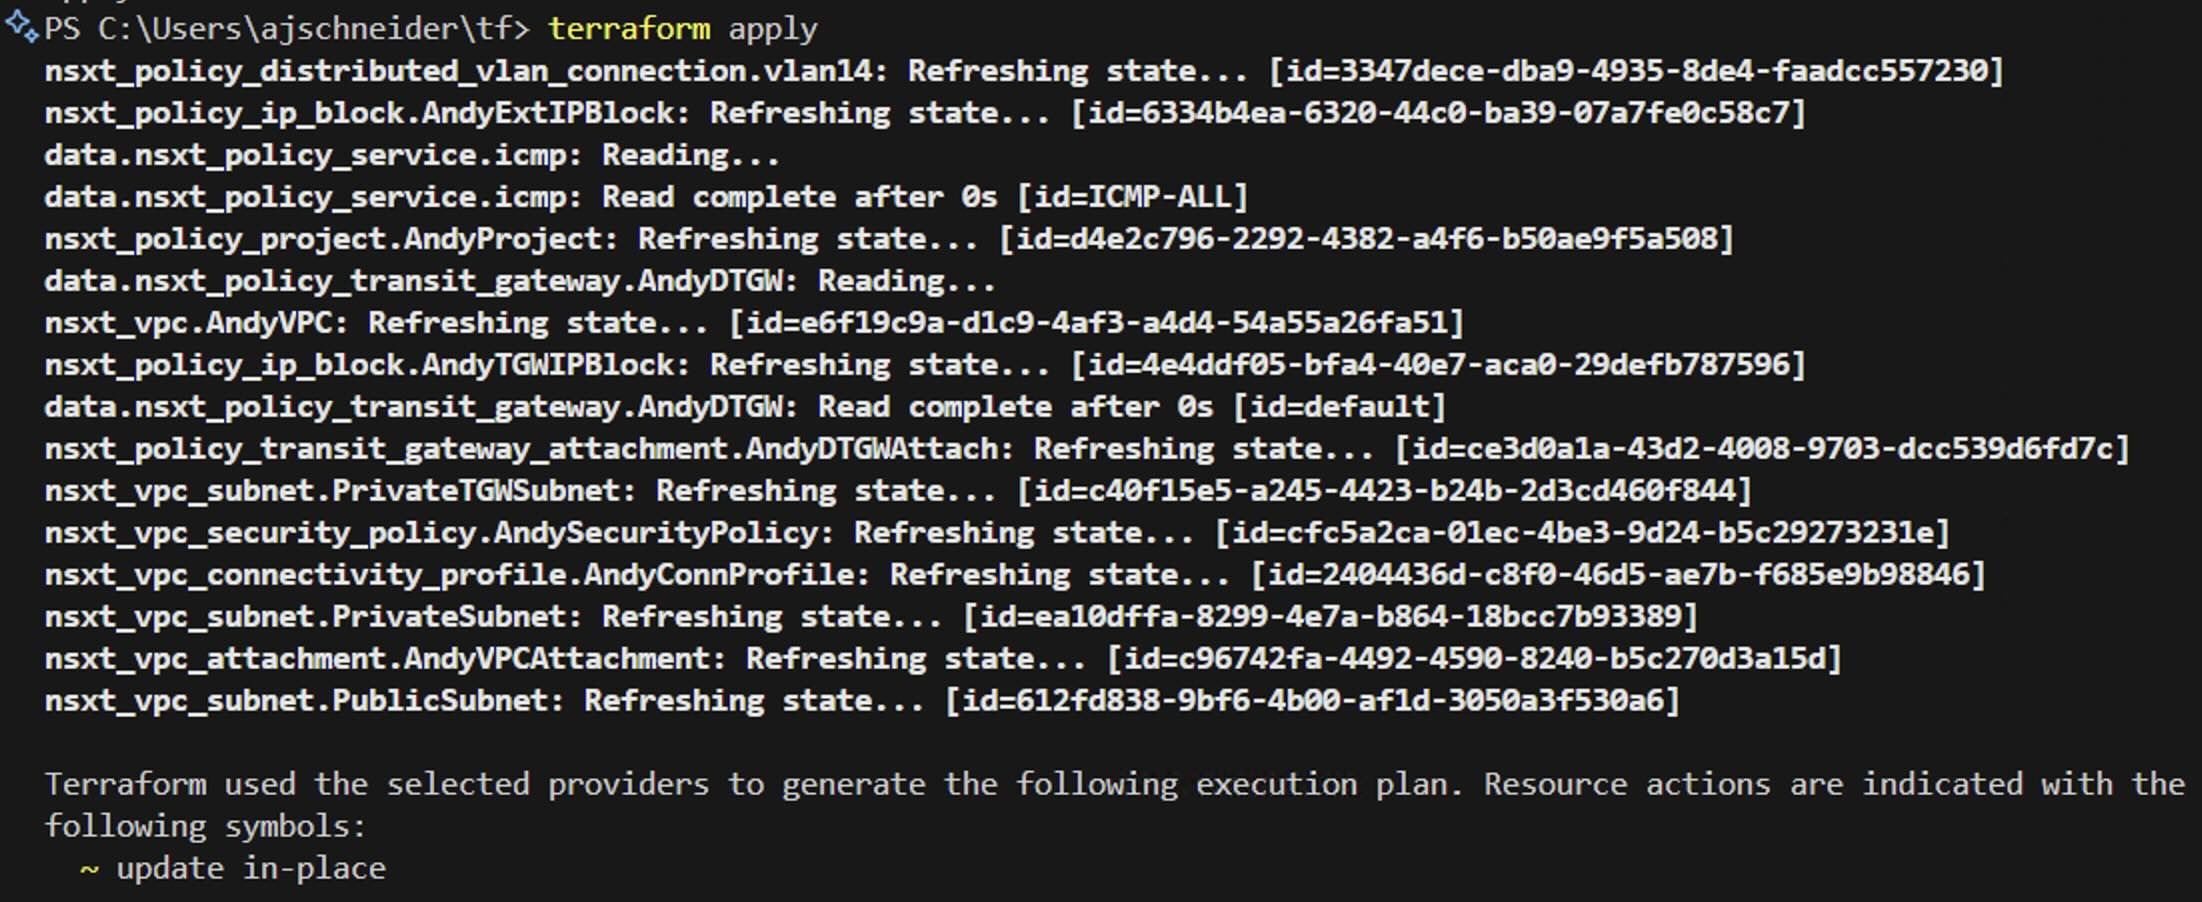
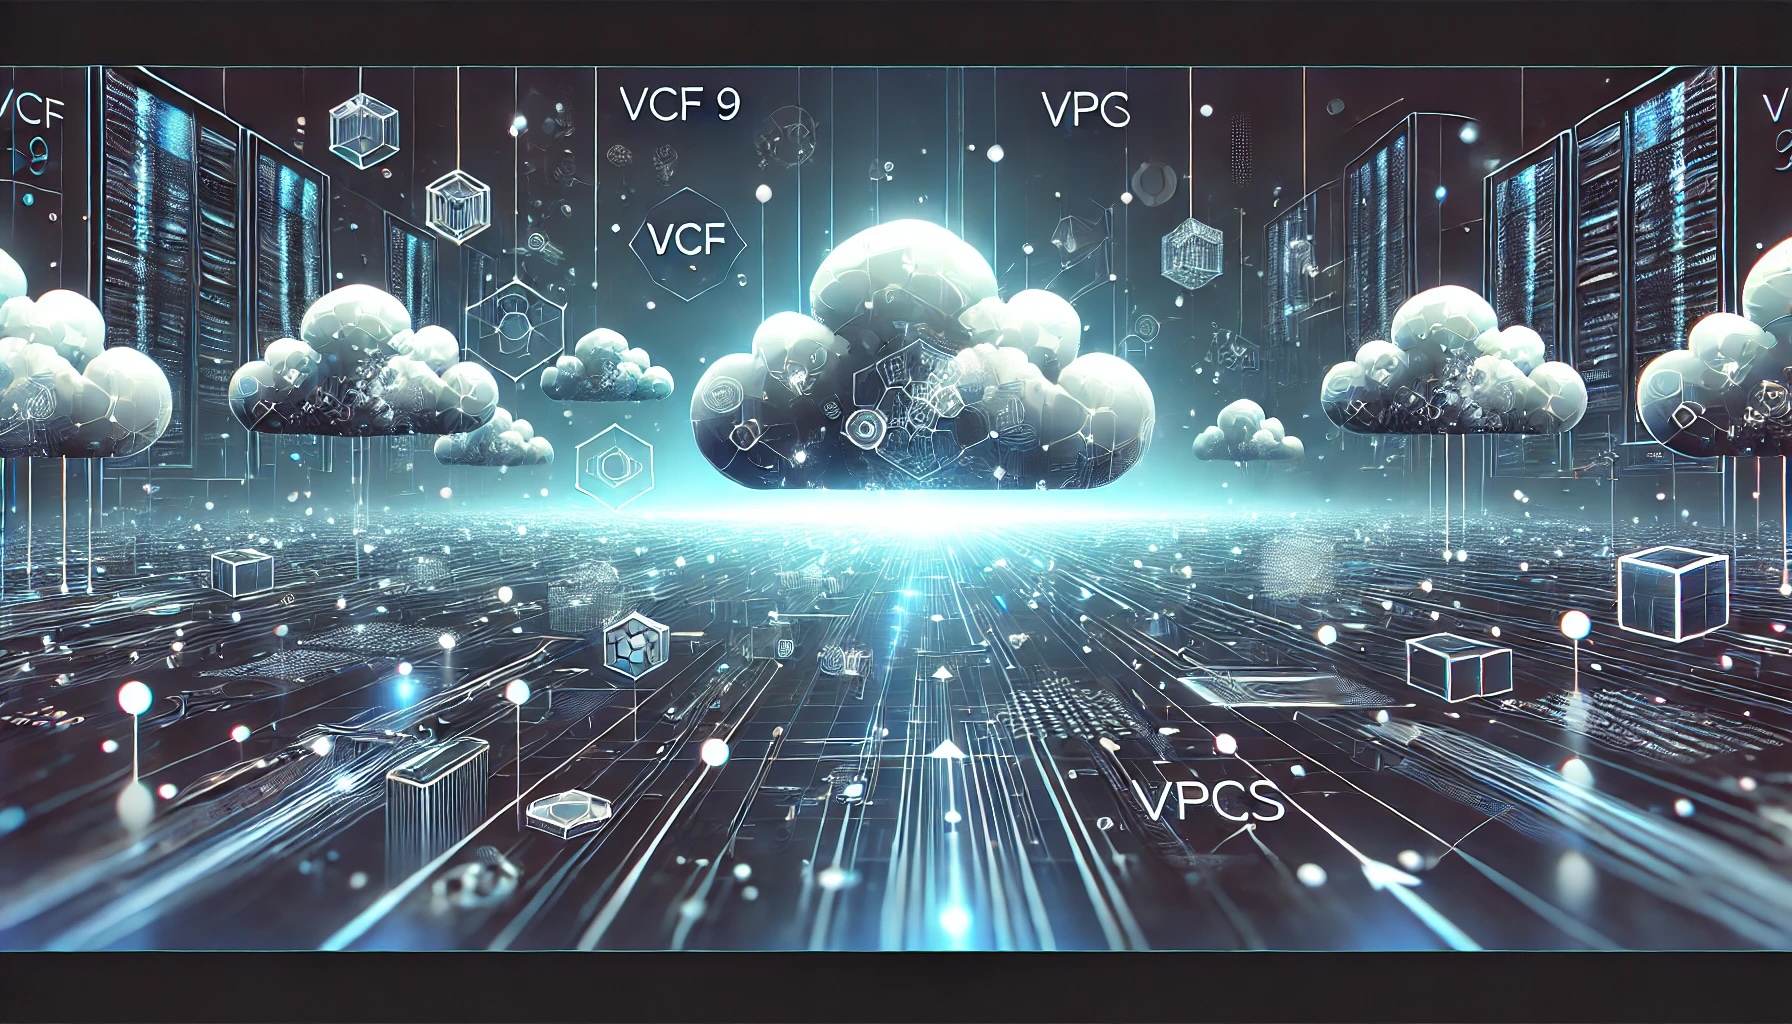
All of the ways to Deploy and Use VPCs in VCF 9 - Part 2: Terraform
September 16, 2025
vpc
All of the ways to Deploy and Use VPCs in VCF 9 - Part 1
August 7, 2025
vpc
VCF 9 is here! What's New in NSX?
June 17, 2025
nsx
Hello Cheese (again)!
June 12, 2025
random
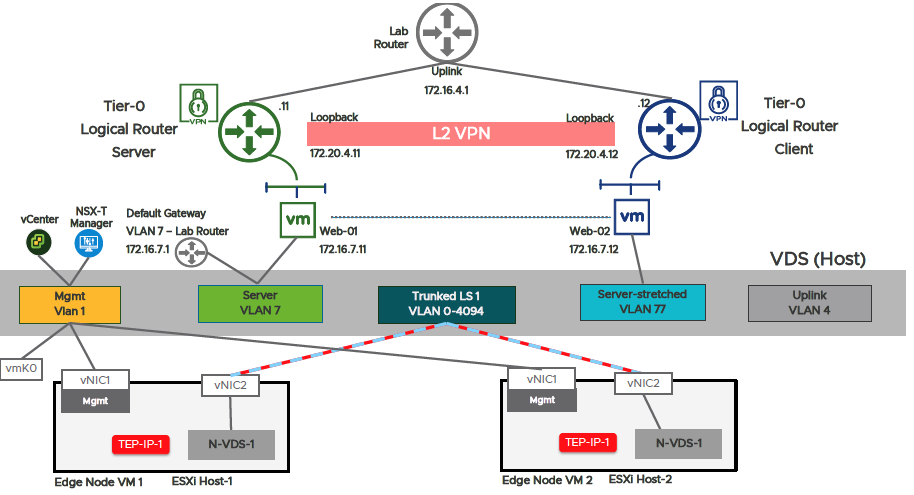
Stretching VLANs using NSX-T L2VPNs
October 16, 2020
nsx
Automating NSX-T DevOps Style
August 10, 2020
nsx
Context Profile Paths for NSX-T Terraform Provider
August 10, 2020
nsx
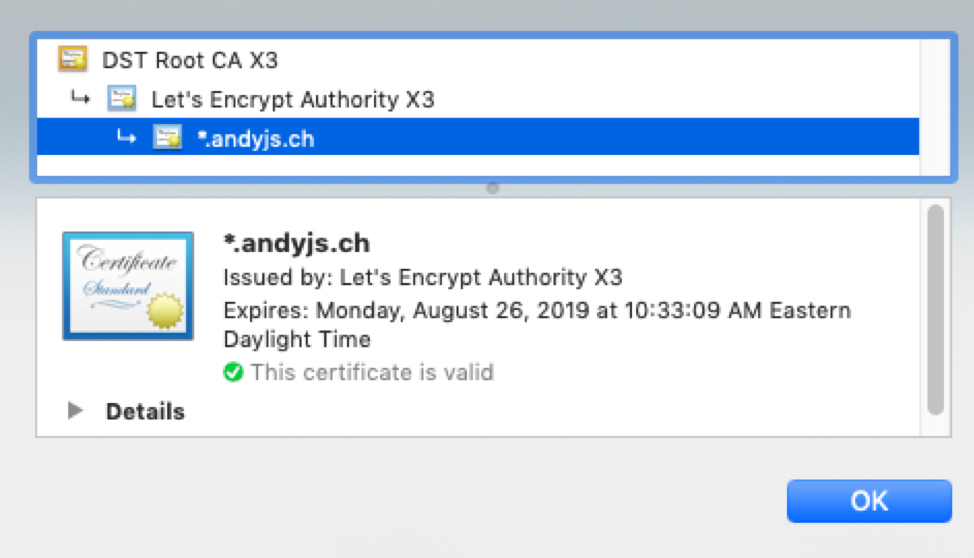
Applying a LetsEncrypt Certificate in NSX-T Manager
May 30, 2019
nsx
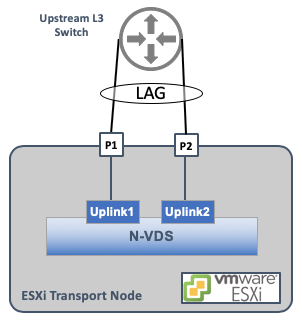
How to Configure LAG in NSX-T
April 25, 2019
nsx
Hello Cheese
April 22, 2019
random
Follow us
LinkedIn
Tags
l2vpn
(1)
networking
(3)
nsx
(8)
random
(2)
release notes
(1)